Whether you are replacing old blinds or fitting new ones in your conversion, getting the measurements right makes all the difference. This guide explains how to measure correctly, choose the right frame size and avoid common fitting problems.
· Check your window opens and closes freely.
· Make sure there are no handles, catches or trims obstructing the blind frame.
· Check you have enough flat mounting space around the window.
· Ensure cupboards, wall panels or overhead lockers will not interfere with the blind operation.
· Check curtains or pelmets will not clash with the cassette frame.
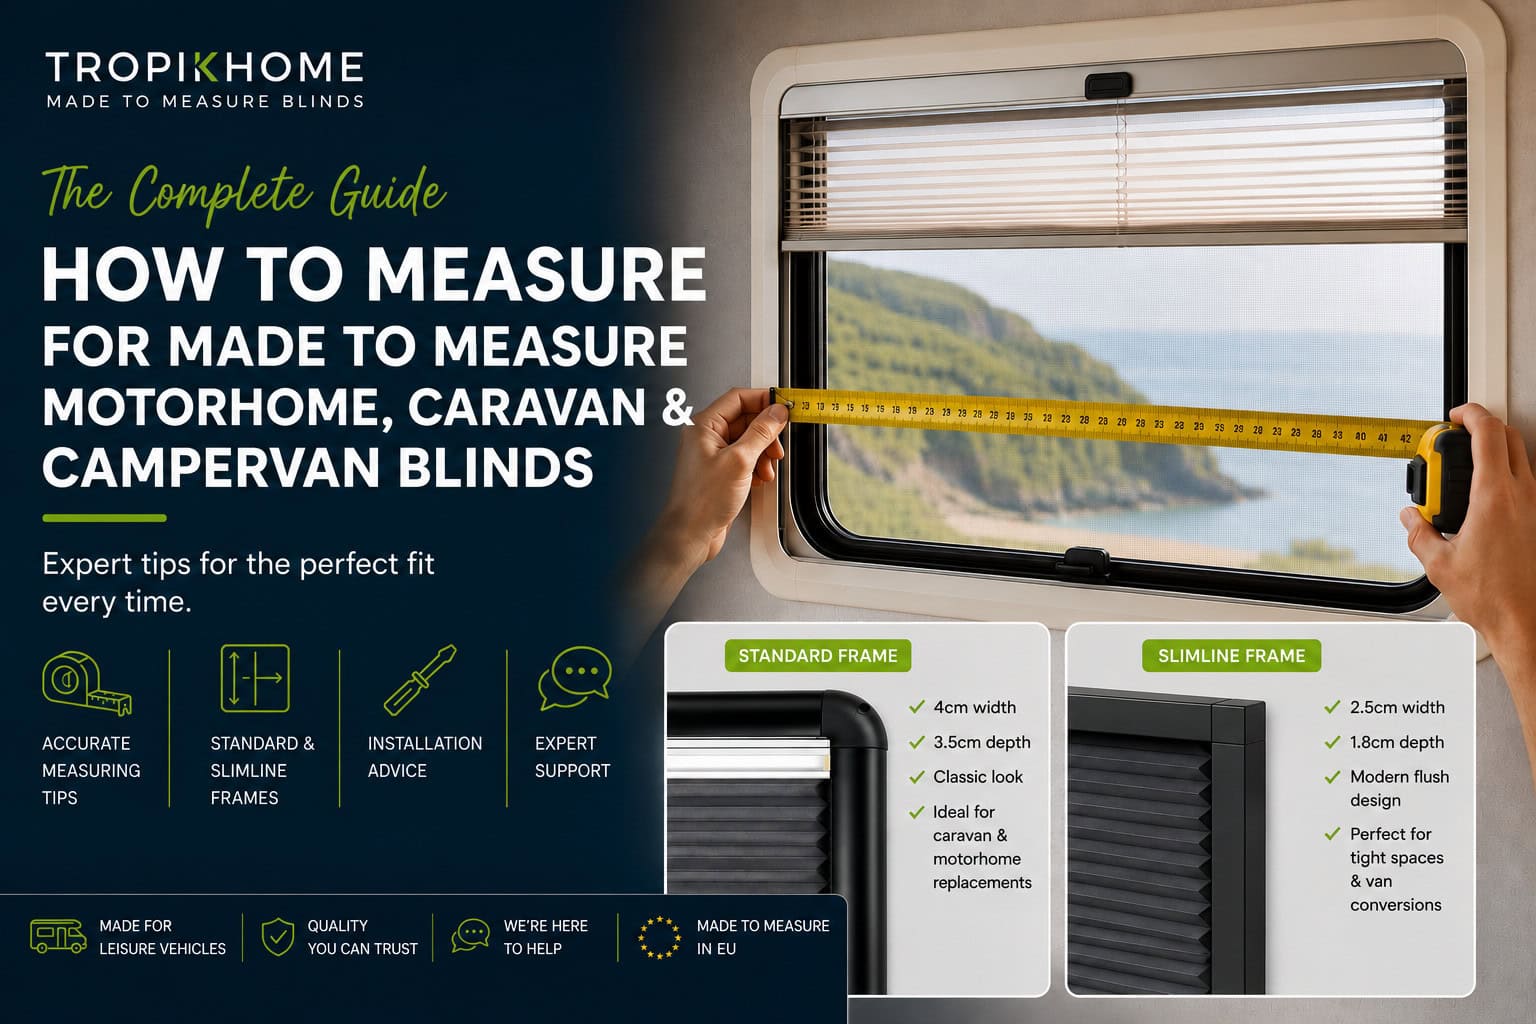
· Consider whether you need a slimline or standard frame before measuring.
Fabric or plastic measuring tapes can stretch and produce inaccurate measurements. A metal tape measure gives a more accurate result and helps ensure your blinds fit correctly.
At Tropik Home, we work from the inner window size. Measure the width and drop from the outside edge to the outside edge of the rubber window seal.
An easy way to visualise this is to think of the blind cassette like a picture frame. Your measurements become the inside opening where the blind fabric and flyscreen sit.
Measuring to the outer edges of the rubber seal helps ensure the blind fabric fully covers the window for improved privacy and light control.

You only need to provide the INNER window measurements. We automatically add the frame size during production.
· Standard frame blinds add approximately 8cm overall to the width and height.
· Slimline frame blinds add approximately 5cm overall to the width and height.
There needs to be a clear and flat mounting area around the window so the cassette frame can sit properly. This helps prevent light gaps, rattling and uneven fitting.
| Frame Type | Frame Width | Frame Depth | Frame Style | Typical Use |
| Standard | 4cm (40mm) | Sides: 3.5cm (35mm) Corners: 3.8cm (38mm) | Rounded traditional appearance | Factory-style caravan and motorhome replacement blinds |
| Slimline | 2.5cm (25mm) | 1.8cm (18mm) | Flush modern appearance | Van conversions, sliding doors and tight spaces |
· Best for replacing existing caravan or motorhome blind systems.
· Creates a more factory-style appearance.
· Ideal where there is plenty of mounting space.
· Better suited to larger windows.

· Designed for tight spaces.
· Popular in self-build van conversions.
· Fits well behind ply lining.
· Ideal near kitchen units, sliding doors and narrow pillars.
· Creates a modern flush appearance.
If you are unsure, the Slimline frame is usually the safest option for campervan conversions where space is limited.

· Caravan replacement blinds → Standard
· Motorhome replacement blinds → Standard
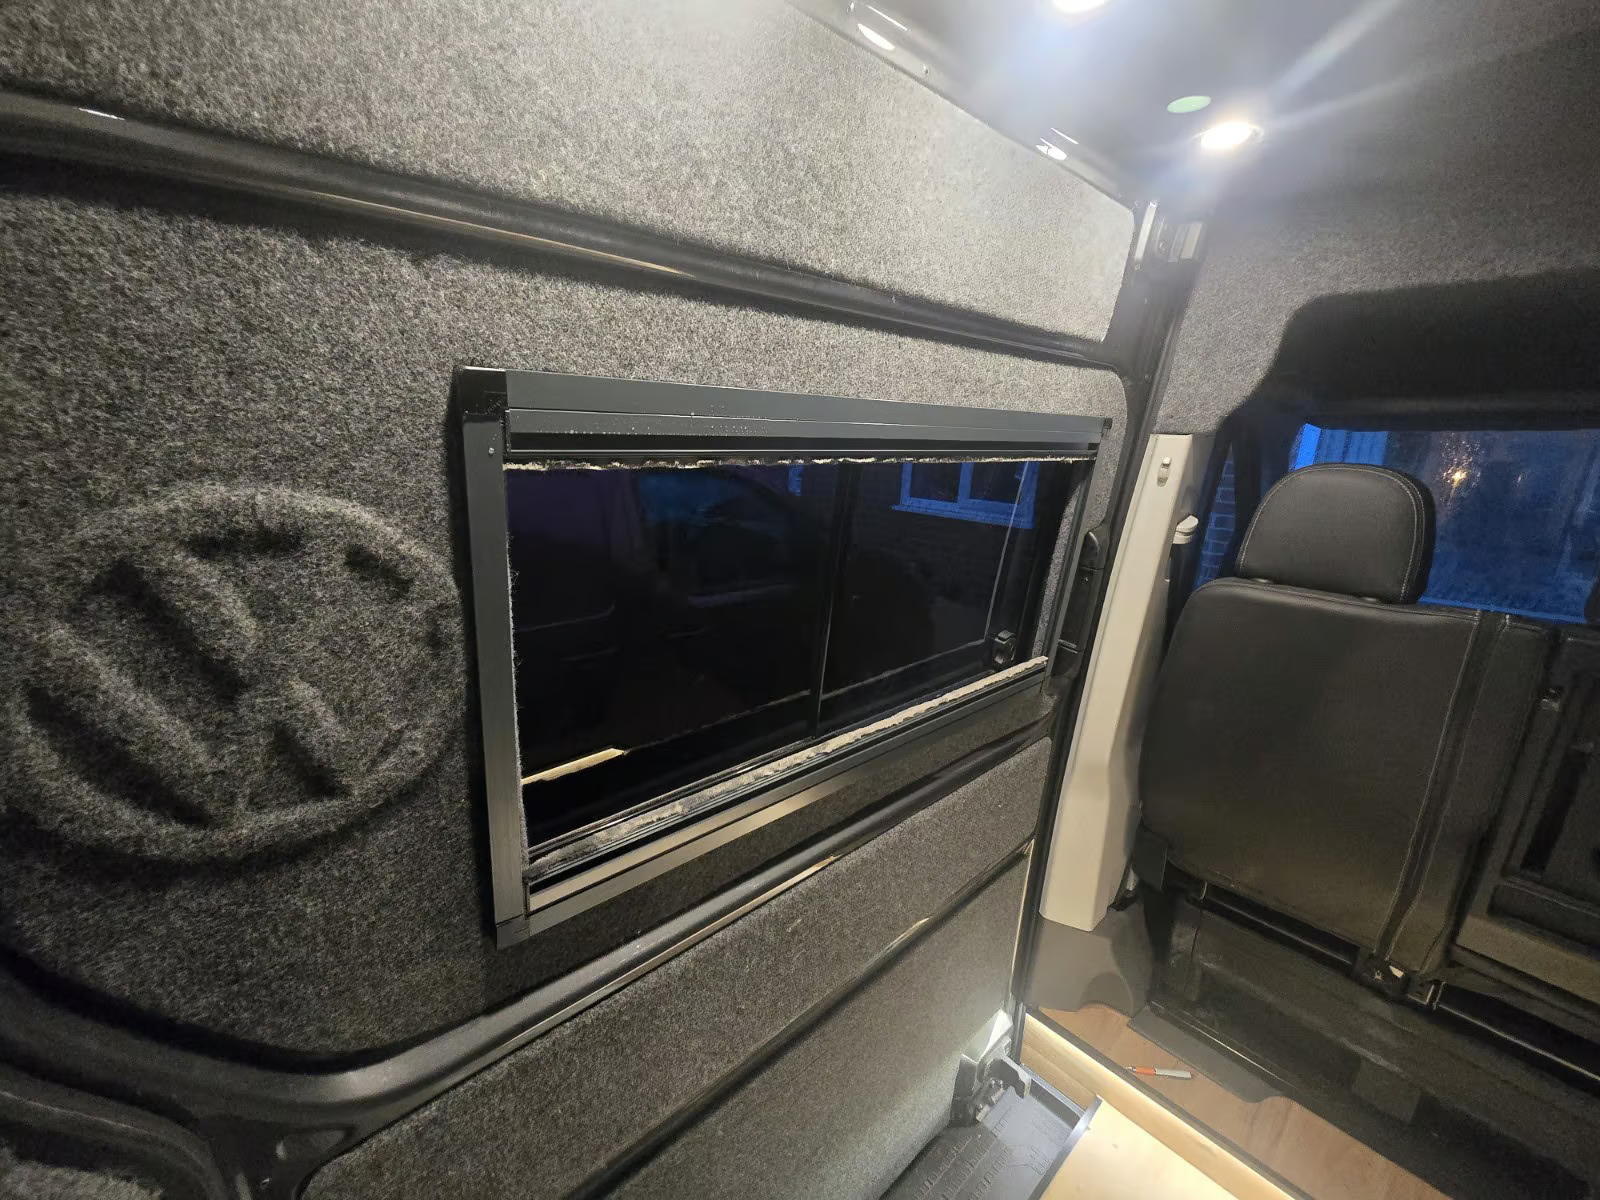
· VW Transporter conversions → Slimline
· Fiat Ducato conversions → Slimline or Standard
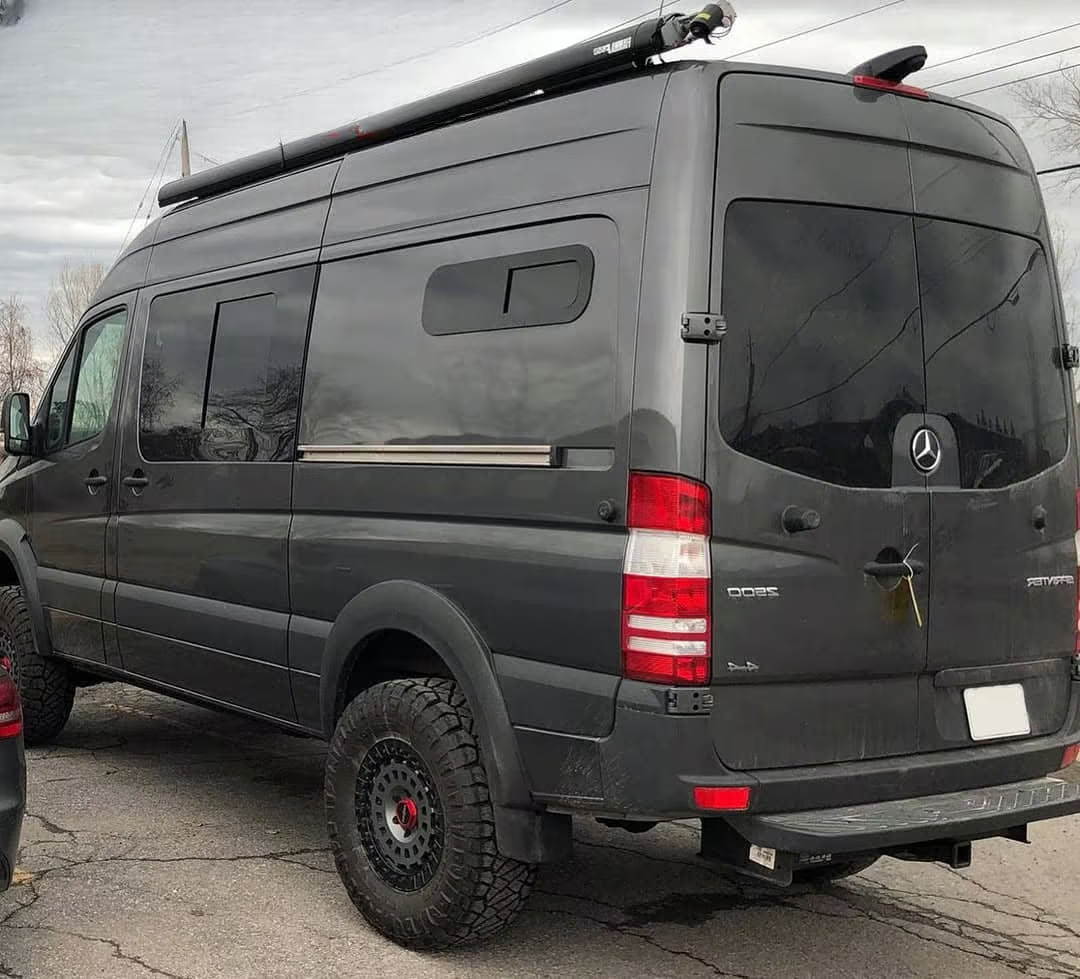
· Mercedes Sprinter conversions → Slimline or Standard
· Sliding doors → Slimline or Standard (standard will need to be installed inside the recess of the sliding door otherwise there might not be enough space to clear)
· Behind ply installations → Slimline
If your window does not have a rubber seal, measure from the edges where you want the inner edge of the cassette frame to sit.
· Check the mounting area is flat and clear.
· Ensure handles and opening mechanisms remain accessible.
· Look for visible gaps or rough areas which may become visible when the blind is open.

This is common in older caravans, motorhomes and many campervan conversions where ridges, clips or trims surround the window.
A common solution is to create a timber sub-frame around the window opening. This provides a flat mounting surface for the blind cassette.
· Use timber battens similar in width to the chosen frame size for a cleaner finish.
· Seal edges using a suitable waterproof sealant.
· Once installed, the inner opening of the timber frame becomes your blind inner measurement.
Many campervans and motorhomes do not have perfectly flat walls around the window.
Small gaps are normal and are usually hidden by the frame profile. For heavily curved walls, we recommend using timber battens or a mounting surround to create a flatter surface or we can also produce curved blinds (as seen below). We will need detailed mesurement showing the size of the curve so we can produce a blind to sit perfectly. If unsure, send us photos before ordering and we will recommend the best frame option.

Our made-to-measure blind systems are commonly used to replace older Remis, Dometic and Horrex blind systems.
Because frame sizes vary between manufacturers, you may notice small wall areas previously hidden by the old cassette.
This is completely normal and can usually be hidden using trim, edging or decorative finishing.
This is one of the most common questions we receive.
· Vertical operation means the blind opens from top to bottom.
· This is the standard option and the most popular choice.
· Horizontal operation means the blind opens side to side.
· This option is often better for shallow windows where side-to-side movement gives better fabric proportions.

· Measuring the glass instead of the rubber seal.
· Forgetting to check for handles and catches.
· Measuring unevenly across curved walls.
· Choosing a frame too large for the available wall space.
· Not checking cupboard or door clearance.
· Measuring the old blind cassette instead of the actual window opening.
· Forgetting the blinds need space to slide fully open.
Our blind cassettes are commonly fitted using screws.
· Motorhomes
· Campervans
· Caravans
· Horseboxes
· Boats
· VW Transporter conversions
· Crafter conversions
· Mercedes Sprinter conversions
Made-to-measure blinds are manufactured with standard production tolerances. Minor variations of a few millimetres are normal within custom aluminium systems.
Send us the following and our team will help check your measurements before ordering:
· A front photo of the window
· A side angle photo
· Your measurements
· Your vehicle make and model
Email: support@tropikhome.com
The Tropik Home Team is always happy to help.